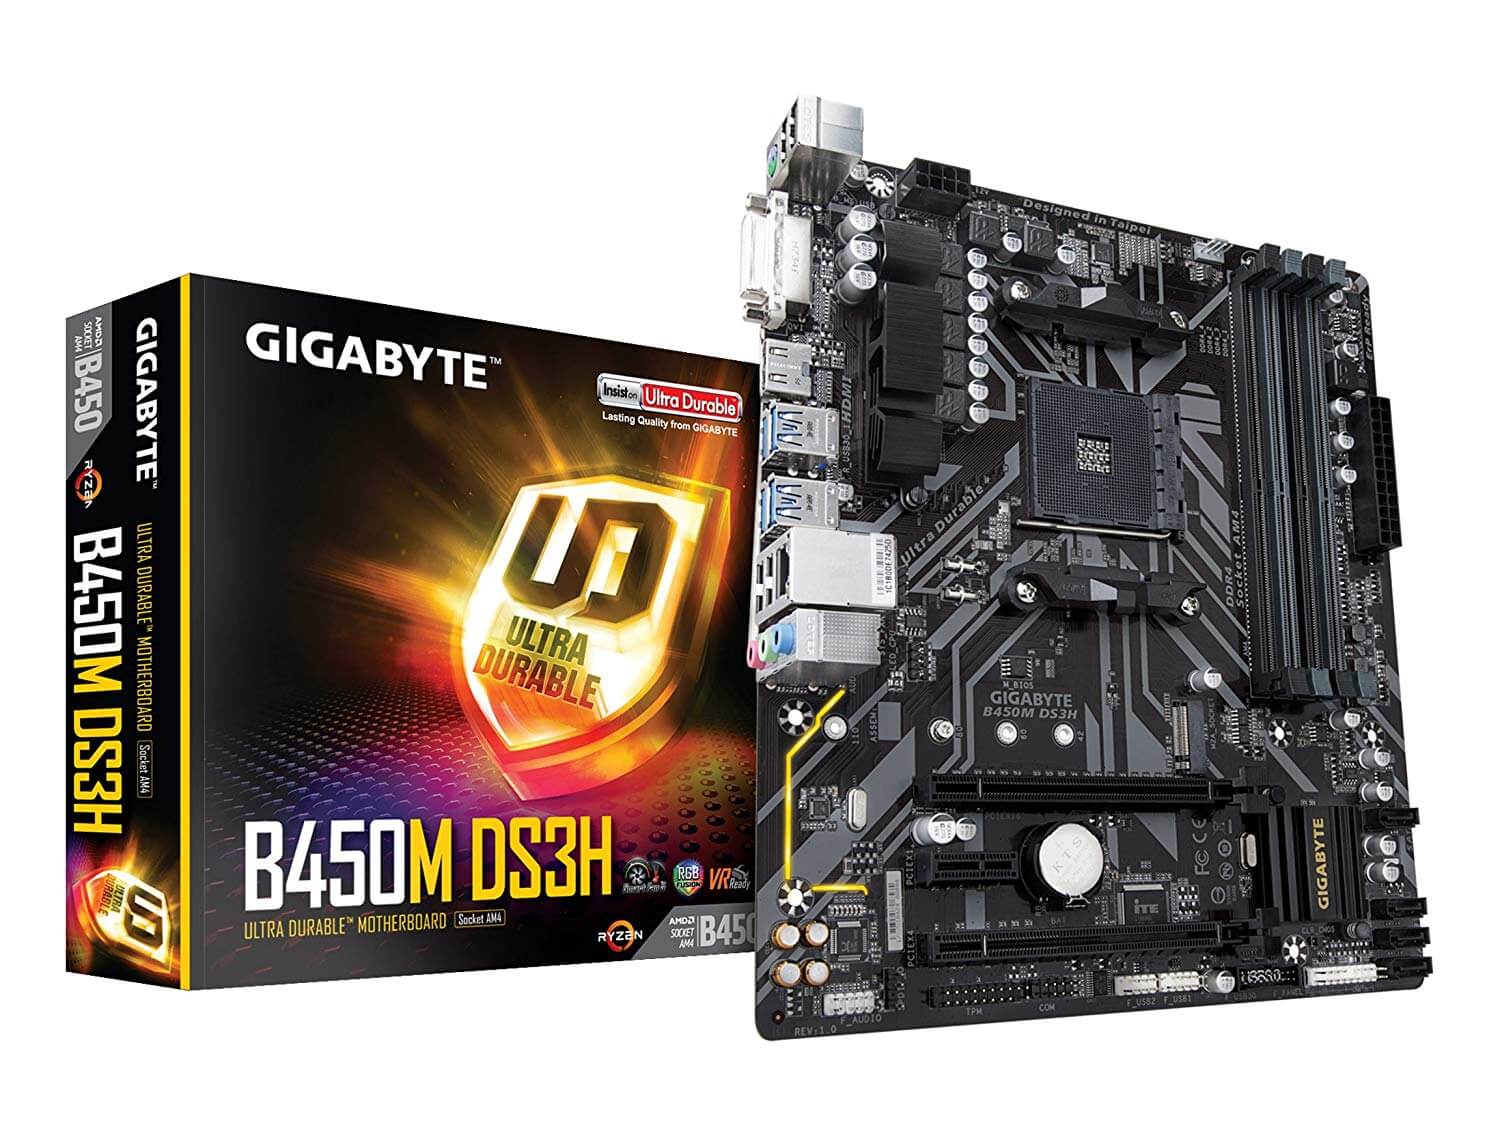
My desktop can not boot up since last Friday. I did a BIOS upgrade. Then I click restart after successfully flash the new BIOS file into the Gigabyte B450M DS3H motherboard. It is the last time the PC show the screen. The desktop was a black screen. No Beep, it means it did not pass the POST. So the keyboard is not working. I can not even hold the power button to turn it off.
Anyway, I believe the BIOS is broken and the motherboard is dead. When I do the flashing, I follow the instruction. Use a USB disk, put the latest F62b bios file, which I downloaded from the official Gigabyte website, into the USB disk. On boot, click the DEL key to enter the BIOS screen, BIOS, Q-Flash. Update BIOS. Select the BIOS file on a USB disk. click update the BIOS, Finished then Reboot. Finally, it does not wake up anymore.
Above is the background of the story and why I need a repair for my desktop. Now I am going to the main part of the post.
I order a new ASUS Prime B450M-A II AMD AM4 MicroATX motherboard. The release date of this motherboard is Oct. 2020. Almost one year.
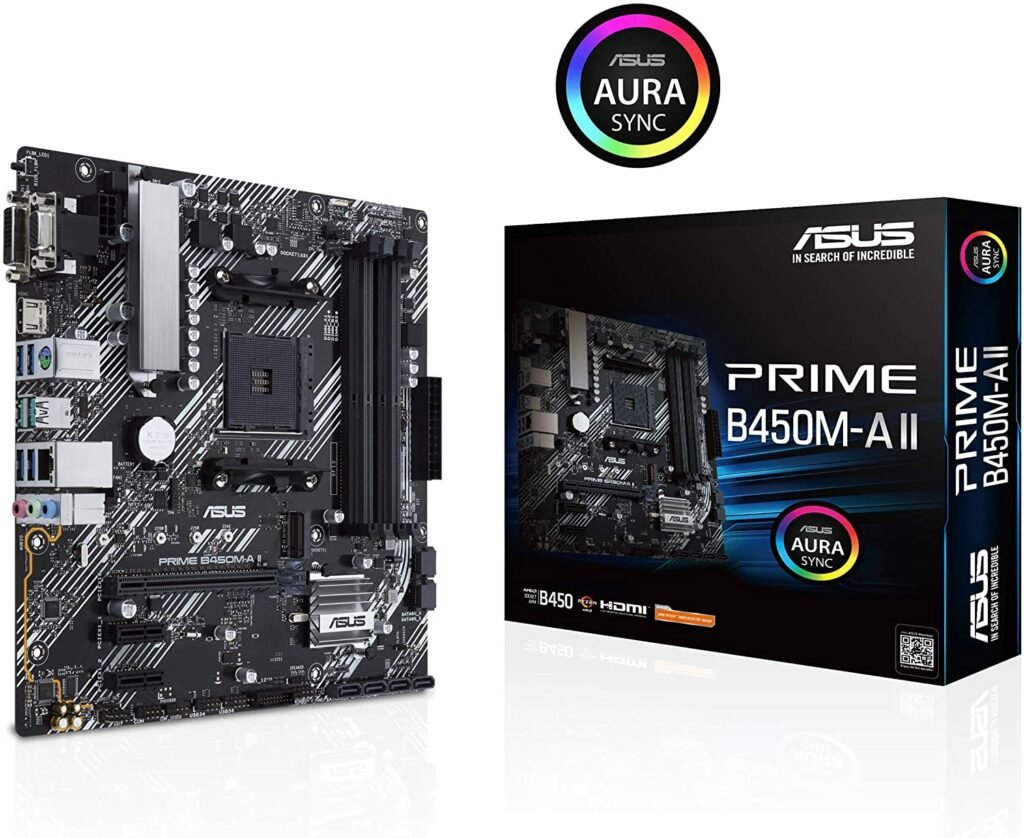 The box I received is actually has a stick on it. Said “AMD Ryzen 5000 Desktop Ready”. The shipping motherboard with BIOS v2807.
The price on Amazon.ca is $99.99 when I make the order. Added TAX is $111.99
This board is quite similar to the other B450M board, including the Gigabyte one. I would like to point out some features I like very much.
- 4 DIMM, Max 128GB, DDR4 support from 2133MHz —– to 4400(OC).
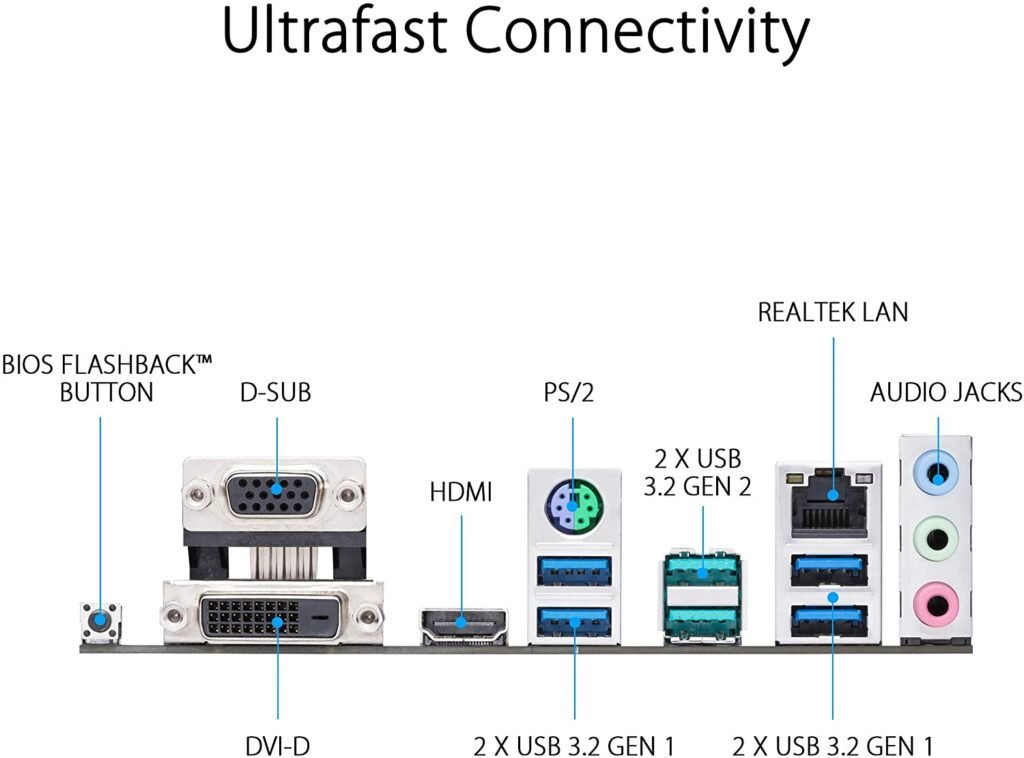
- Three graphic ports: HDMI 2.0b, DVI-D and D-Sub.
- BIOS Flashback function.
- 256MB Flash ROM
The procedure is quite simple for me. I always DIY my desktop computers.
- Disconnect the power cord. Press the power button to release the electricity.
- Disconnect the cables attached to the OLD motherboard. Inside and back outside.
- Remove the screws
- Take out the OLD motherboard. The CPU is still attached to it.
- Remove the back-panel I/O shield
- Remove the heatsink
- Remove the CPU
- Put the CPU on the NEW motherboard
- Put the heatsink on it
- Install the New I/O shield panel on the back of the case
- Add two screw feet on the case, new motherboard need eight
- Install the new motherboard into the case, be careful with the backports
- Fix it with 8 Screws
- Install two memory stickers, 2X16GB
- Install a M.2 storage device.
- Connect power connectors, 24pins and 8 pins.
- Connect SATA HDD and SATA Bluyray burner
- Connect USB cables for front panels
- Connect the case Fan
- Connect all the rest cables for power, HDD light, Reset button etc.
Now it is time to give it a trial run.
I am lucky. The first boot is good. Go into the Bios to have a look and save, exit.

It is great. The computer is quiet.
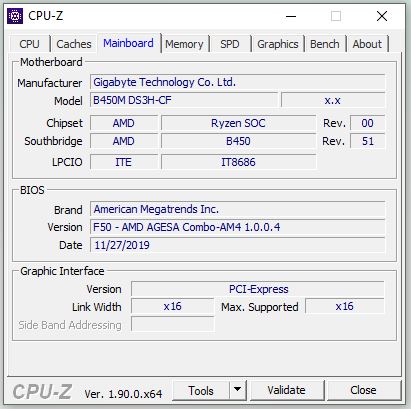
Before I made the order, actually I did a lot of research. I consider the MSI B550M PRO-VDH, ASUS Prime B550M-A/CSM, and a lot of others. I still believe B450 chipset is good enough for Ryzen 5 2400G. If I upgrade the CPU to Ryzen 5 5600G, B450 can still support it.
New features from B550 are good, but I don’t need them. Such as PCIe 4.0. And B550 doesn’t support my Ryzen 5 2400G CPU.