It is my daughter, Gloria’s desktop. I bought it two years ago on Costco.ca. Cost $900 plus tax.
The specs of it were a little bit different from what was on Acer’s official website.
- Windows 10 Home
- Intel Core i5 10400
- GeForce GTX1650 4GB
- 12GB RAM
- 2TB HDD
When I got it, I added a Crucial SSD MX100 256GB to improve the performance. The existing 2TB HDD was kept as storage. And I installed Windows 11 Pro on it.
Gloria uses it for school stuff and also playing some games I don’t know. 🙂
Recently, the RAM price and SSD price are dropped. I tried to upgrade the memory and storage on all my systems at home.
So this time is for my daughter’s desktop.
I bought two items at Amazon.ca on Prime Day:
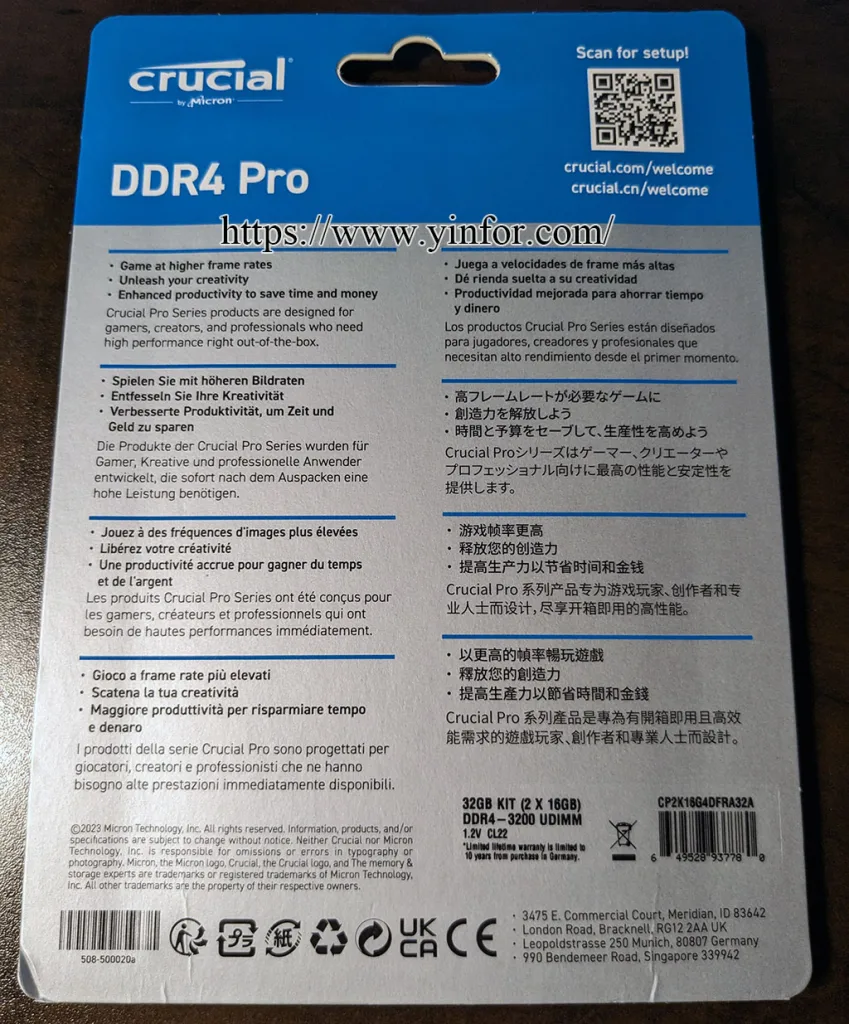
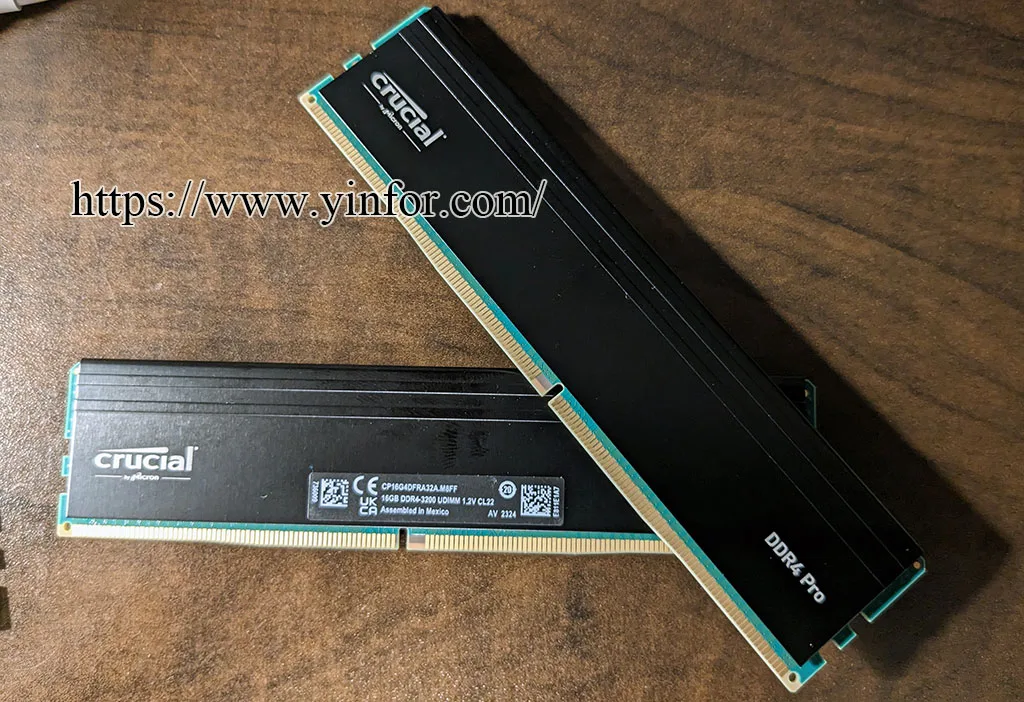
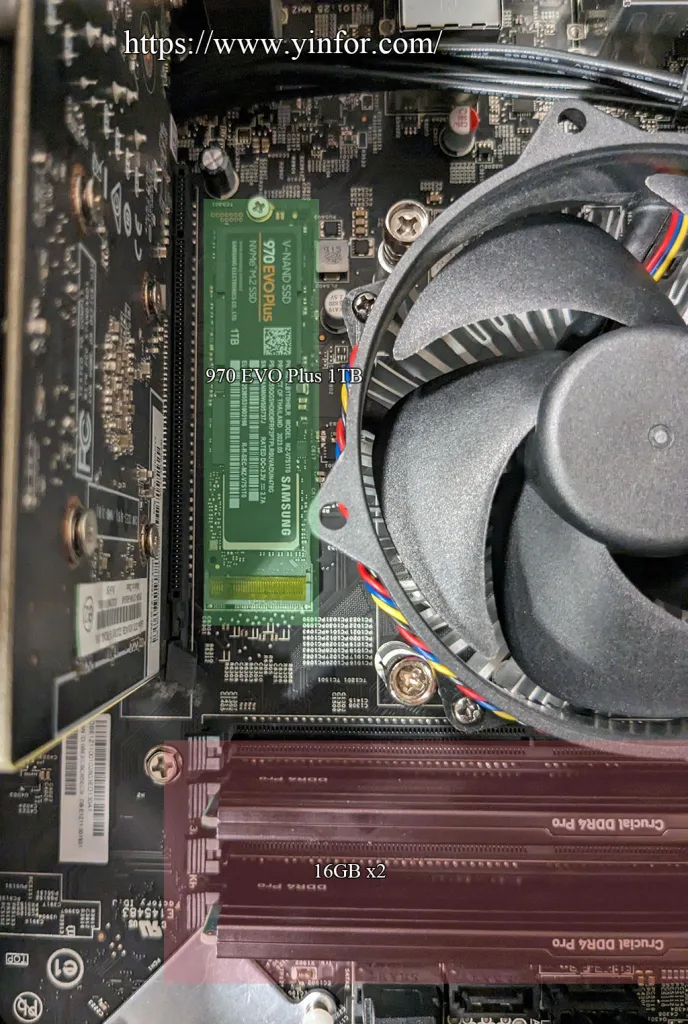
- Crucial Pro RAM 32GB Kit (2x16GB) DDR4 3200MT/s $70.17 plus tax. (Today’s price is $93.26)
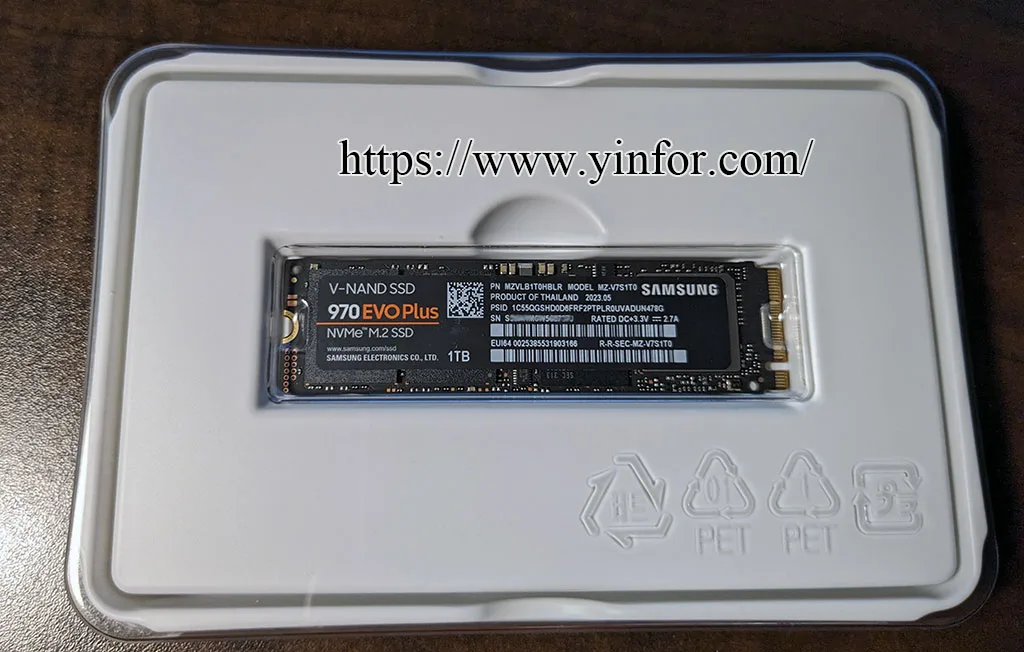
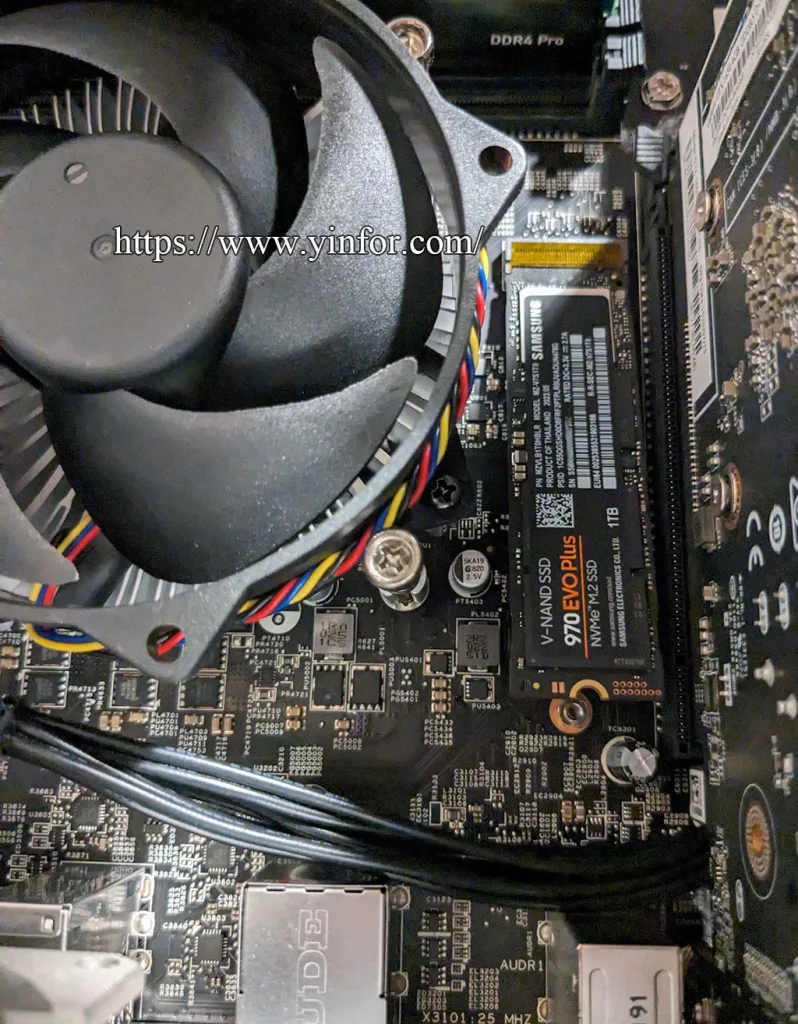
- Samsung 970 EVO Plus 1TB NVMe M.2 Internal SSD (MZ-V7S1T0/AM) [Canada Version] $69.97 plus tax. (Today’s price is $114.99)
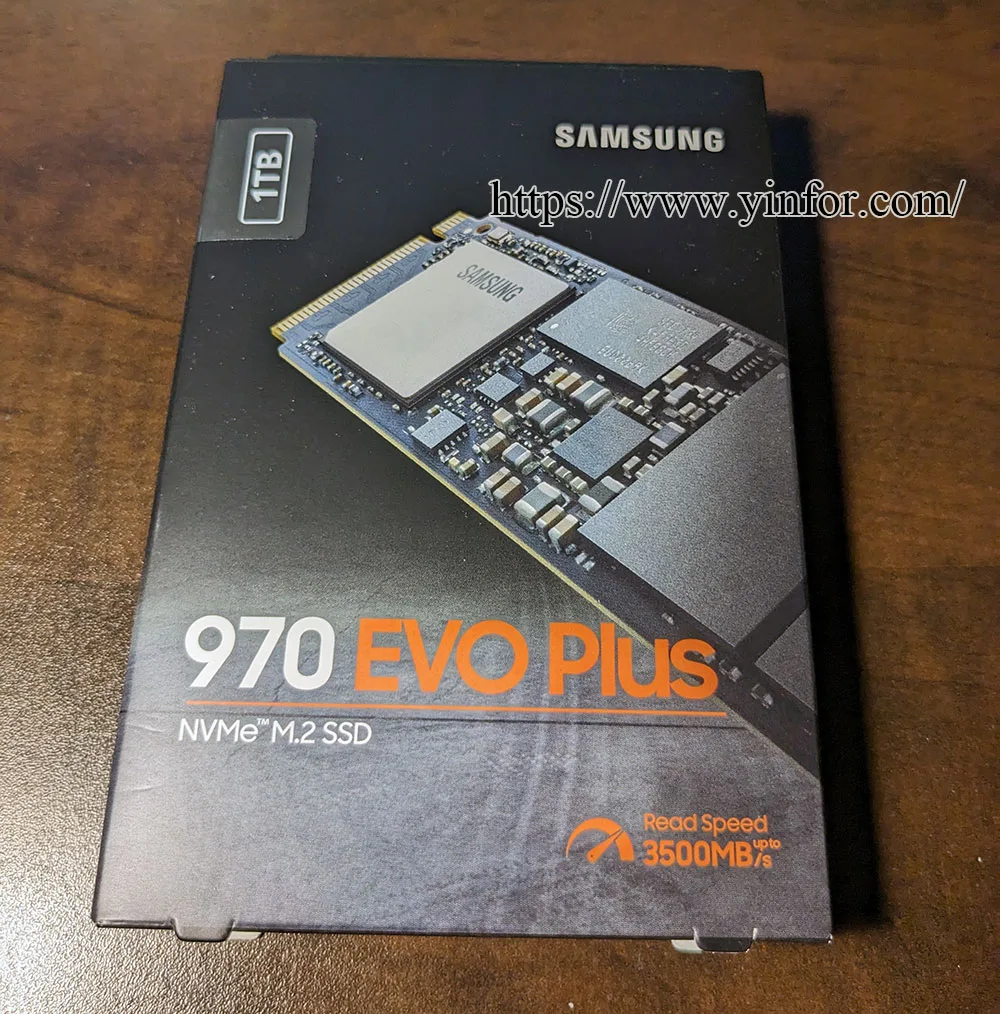
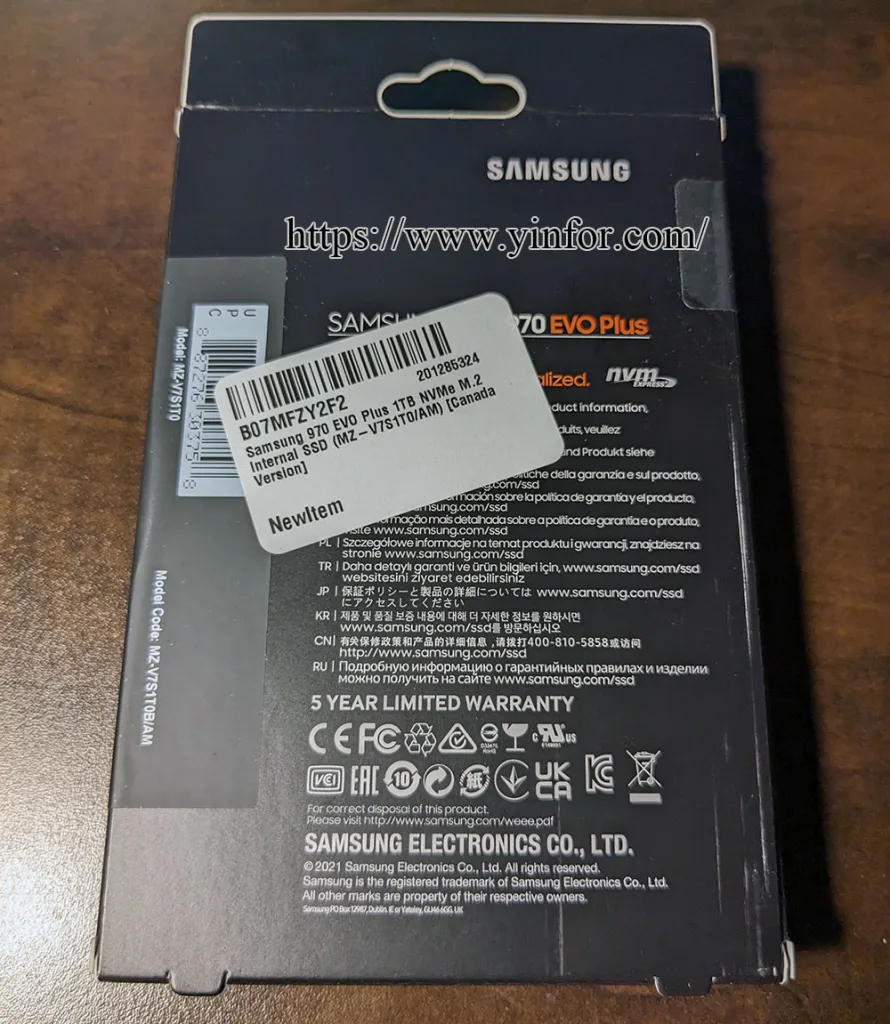
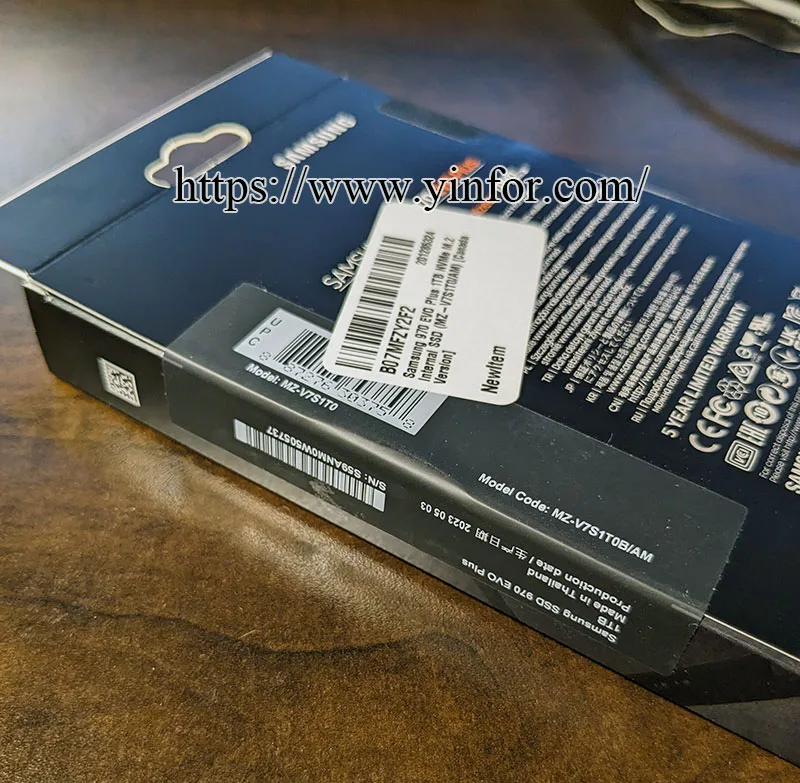
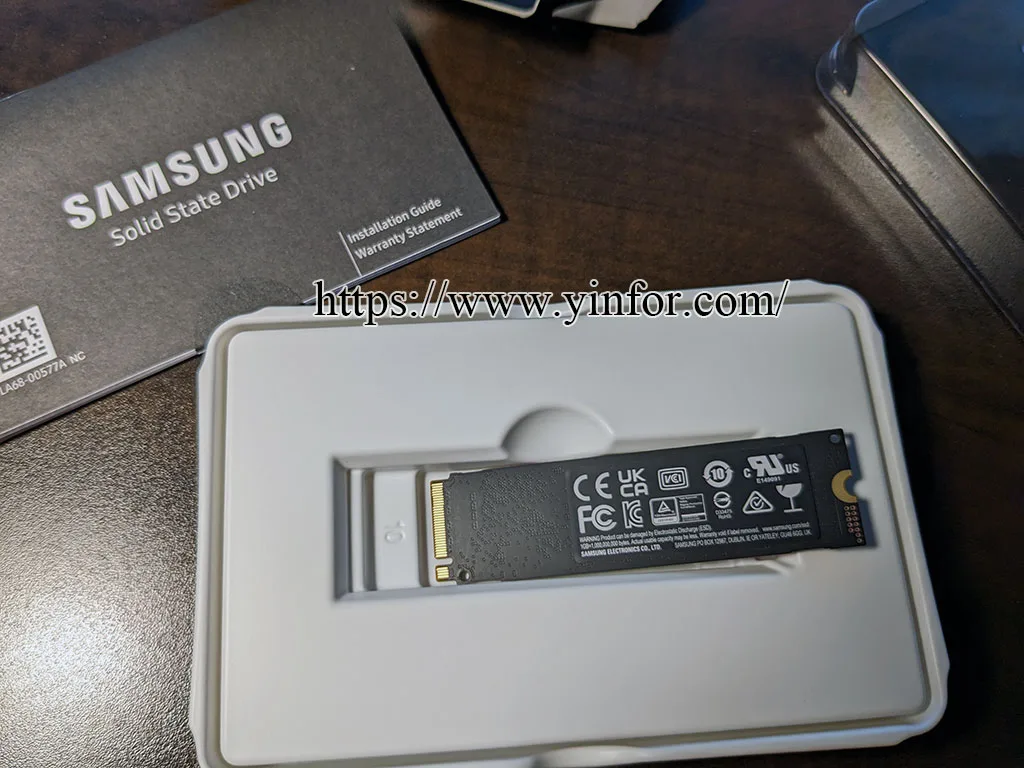
The box is sealed well. It is a brand new one. Coming with a useless Installation Guide booklet.
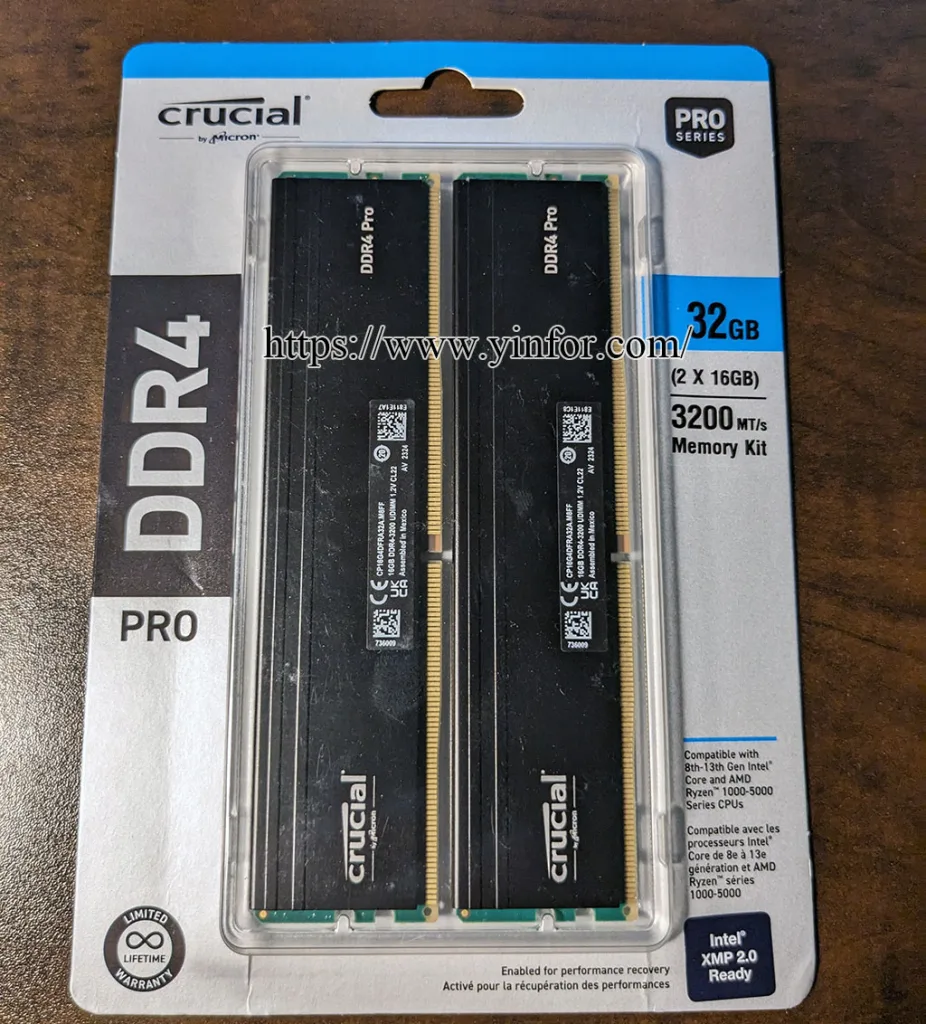
It is also brand new. Very clean pack.
Then, I open the PC case, and look at it.
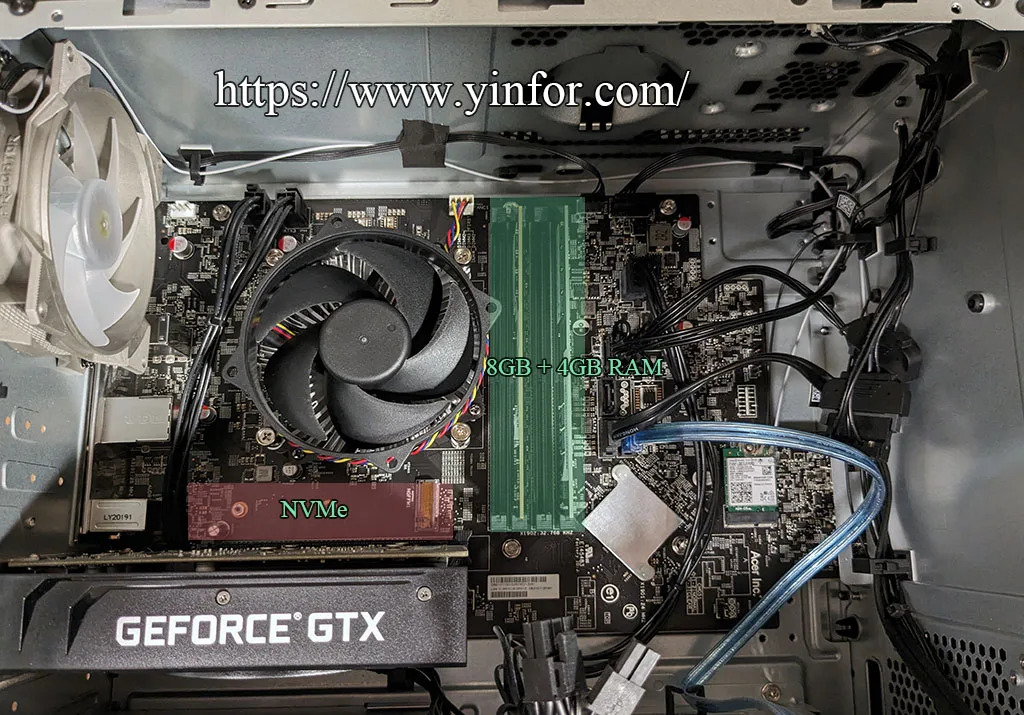
The NVMe slot is empty. The existing memory is one 8GB plus one 4GB.
I installed Samsung 970 EVO Plus 1TB first. I find a screw from my PC screws bag. I dug a lot of time to find this special screw.
Later, I remove the two old 8GB+4GB RAM. Install the two new 16GB RAM sticks.
OH, remember to disconnect the power cord before opening the case. Even disconnect it, still need to press the power bottom to release the electricity.
Here are all the parts I used to upgrade this PC and what I got. Later, I will discuss the process to transfer all the data to the new NVMe SSD without reinstalling Windows 11.