I almost forgot I had an old tablet for many years. Asus Nexus 7 (2013). Last time I upgraded the OS was Dec. 2015. It is ten years ago.
Today I took it out and charged it. I am going to use it as a Kiosk tablet. The very first task is to upgrade the system OS.
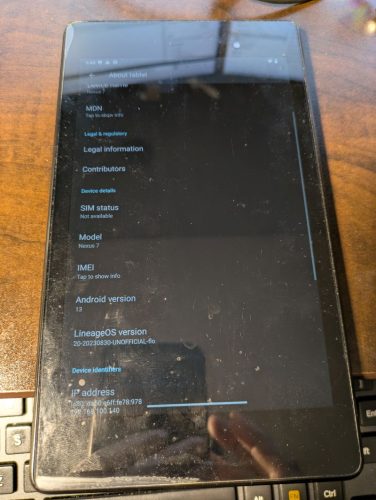
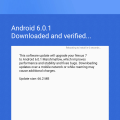
I checked the About page of the table. It is Android 6.0.1.
I did a lot of research and tried and failed, then tried again in different ways. Now it is a success.
There are many steps.
Caution:
Theses steps may not 100% nessearary. I just keep them as a record.
You takes all your own risk if you follow these steps below.
Step 0, Install Windows Drivers
The first trial is from an XDA post, https://xdaforums.com/t/guide-tutorial-howto-google-nexus-7-2013-stock-to-android-13.4275457/. It helps me, even though I can not finish them all.
Download the zip file and unzip it. djibe Nexus 7 2013 pack: https://drive.google.com/file/d/1gPo8YGO-5b6mqugCDyi7T3k94uecwbfZ/view?usp=sharing
Go to sub_folder usb_driver_r13_windows/usb_driver, locate the file android_winusb.inf, right click the file and select Install. Confirm with OK to install the driver. Then restart Windows. ( I am using Windows 11, the latest build)
Step 1, Unlock Bootloader of Nexus 7
In the tablet, Android, go to settings > About tablet. Tap 7 times on “build number” to unlock the Developer menu. Go to Settings > Developer options and turn on the switch USB debugging.
Connect tablet to my Windows, yes, through a USB cable.
In Windows command, Go to the folder which I unzipped before. Enter command,
adb devices
If it is OK, the return is as follows:
077955f1 unauthorizedIf it finds nothing, maybe check the table, the authorization, or the confirmation required.
Enter command
fastboot oem unlock
Using Volume+, select Yes – unlock bootloader, confirm by pressing Power.
Then the last message on the tablet screen is : LOCK STATE – unlocked.
Step 2, Install TWRP 3.7.0
fastboot flash recovery twrp-3.7.0_9-1-flo_followmsi.img
The commnd above is to flash the TWRP recovery image to the tablet. My teblet is Wi-Fi only version. So use “flo” image. It is pretty fast. About 1 second, done.
Use Volume to select Recovery mode, confirm with the Power button.
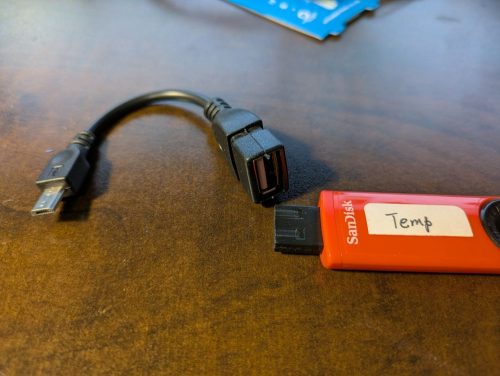
I need an OTG cable and a USB storage. The sanddisk is 16GB.
Format the USB disk as FAT32.
Copy the files unziped before to the disk.
Go to https://drive.google.com/drive/folders/0By6p5AdQfavBUlhsLWFHZThGTnM?resourcekey=0-0BunAmDBWluYPghT0Fs6CA to download lineage-20.0-20230830-UNOFFICIAL-flo.zip, and save it to the USB disk
Go to lineageos.org official site to download Gapps, https://wiki.lineageos.org/gapps/
LineageOS 20(Android13) MindTheGapps ARM file, and save it to the USB disk.
Step 3, Backup
The following steps are mostly from https://blog3c.net/blog/post/284179132-nexus7-2013-os-upgrade
Connect the USB disk to OTG cable, Connect the OTG to the tablet.
Now it is in the TWRP Recovery environment.
Select Mount, choose OTG, the OTG driver is also USB disk.
Select Backup, choose Boot, System and Data, then Select Storage, Choose USB OTG.
Swipe to Backup. It took minutes to finish it.
Step4, Wipe out
Back to the main menu
Select Wipe > Advanced Wipe, Choose data, system, cache, Swipe to wipe.
Step 5, Change the petations
Back to the main menu of TWRP
Select Install > Install ZIP
From the folder I unzipped, Choose lanchon-repit-20210221-system=max-cache=16M+wipe-flo.zip
Swipe to confirm Flash
Step 6, Install Magisk v27
Same as step 5. Flash Magisk-v27.0.apk
Step 7, Install Lineage 20.0
Install the lineage-20.0-20230830-UNOFFICIAL-flo.zip
Step 8, Install MindTheGapps 13.0.0
Install the MindTheGapps-13.0.0-arm-20231025_200806.zip
Last Step, Wipe Dalvik Cache and Reboot
Wow, that’s a long time since you last updated it. It’s amazing how quickly Android versions change – I’m surprised it’s still running 13!