How to replace the hinge of Canon imageClass MF4450
David Yin
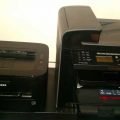
It is a promised post for a long time. My Canon imageClass MF4450 multifunction printer. I ordered the parts in January and received them in February. I said I will make a post to show you how to replace the broken hinge.
Let me put the pictures below which recorded the most important steps.
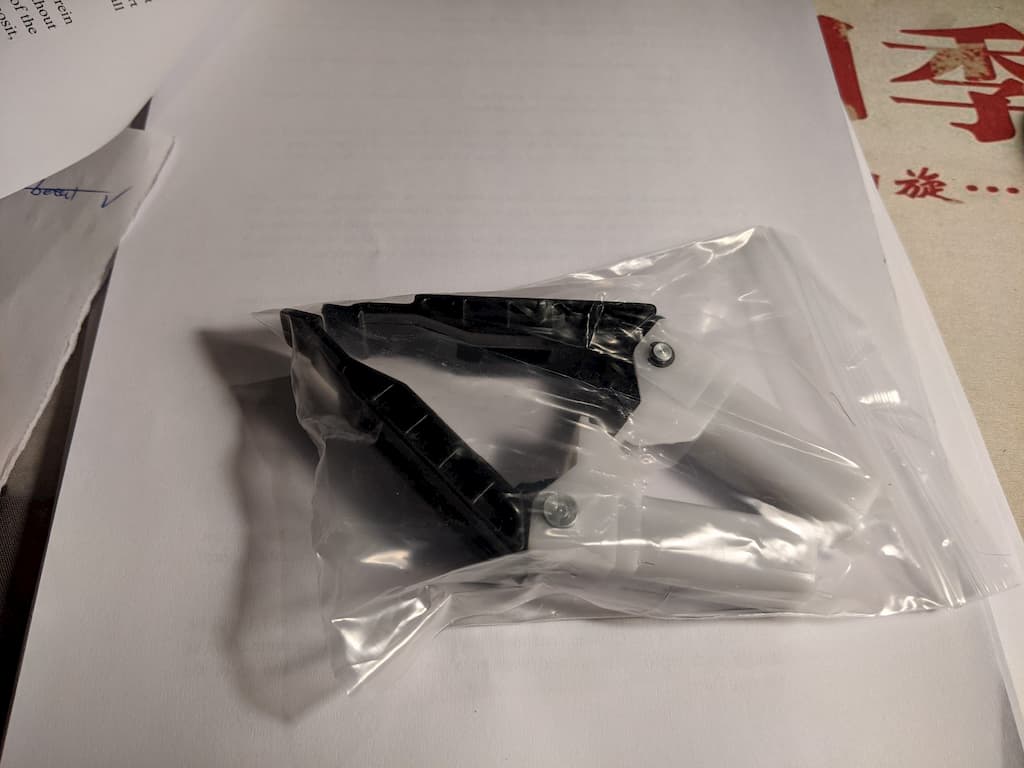
I received it in February. It is in a box. Unbox it, just a bag as above. Two, or a pair of fingers inside.
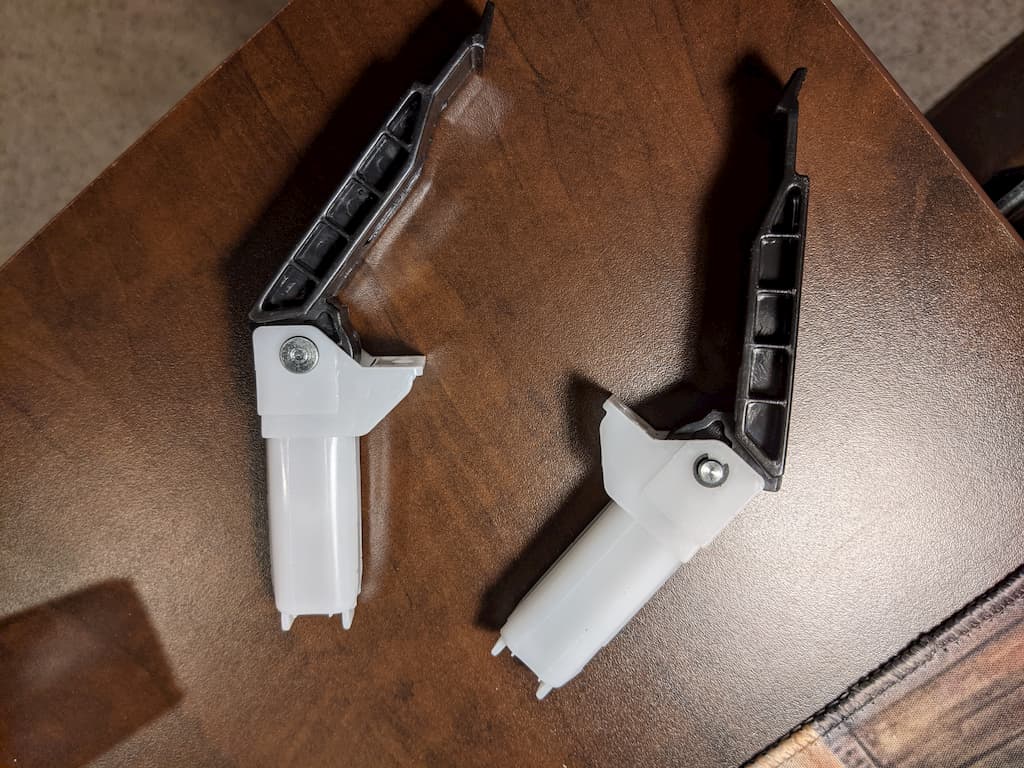
It is a clean look of them. I took the picture with bright light.
The broken hinger is on the left side of the printer. It is a little bit popped up.
This is the good hinge on the right side of my printer.
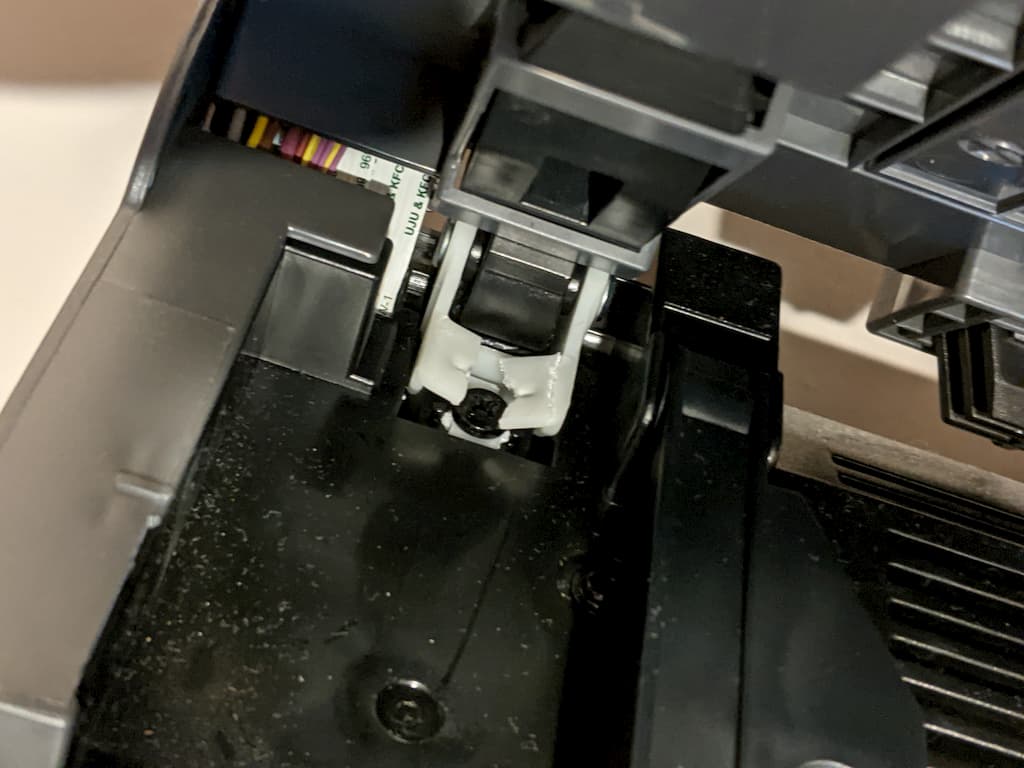
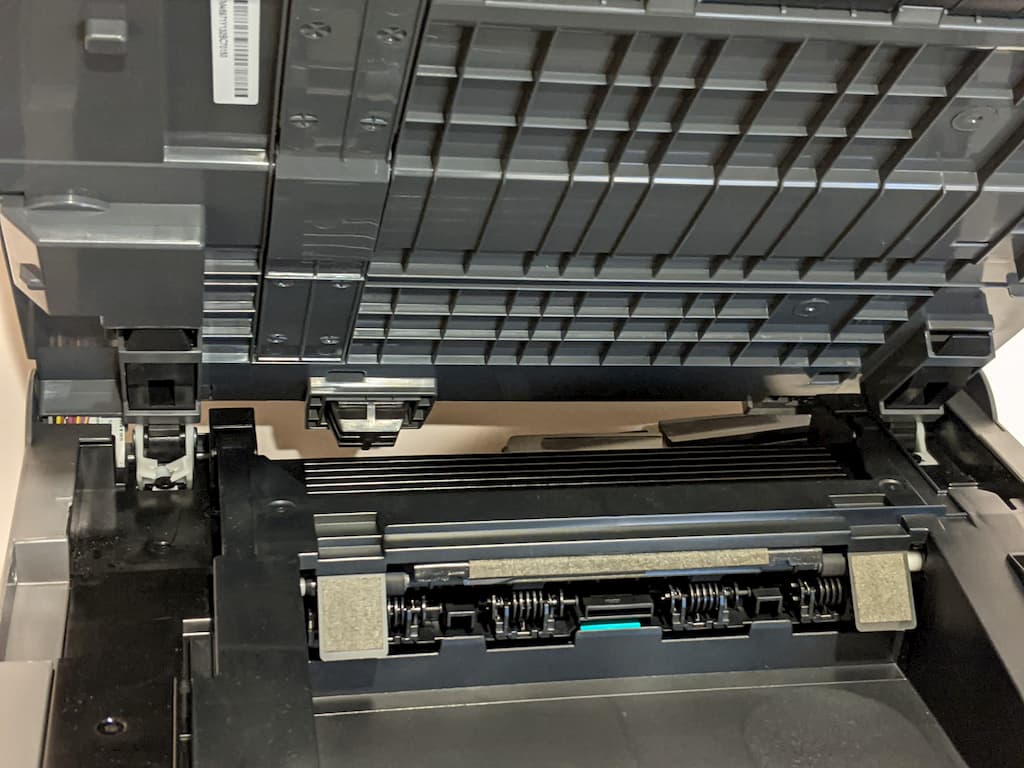
When I open the cover of the printer, the left side is different from the right side.
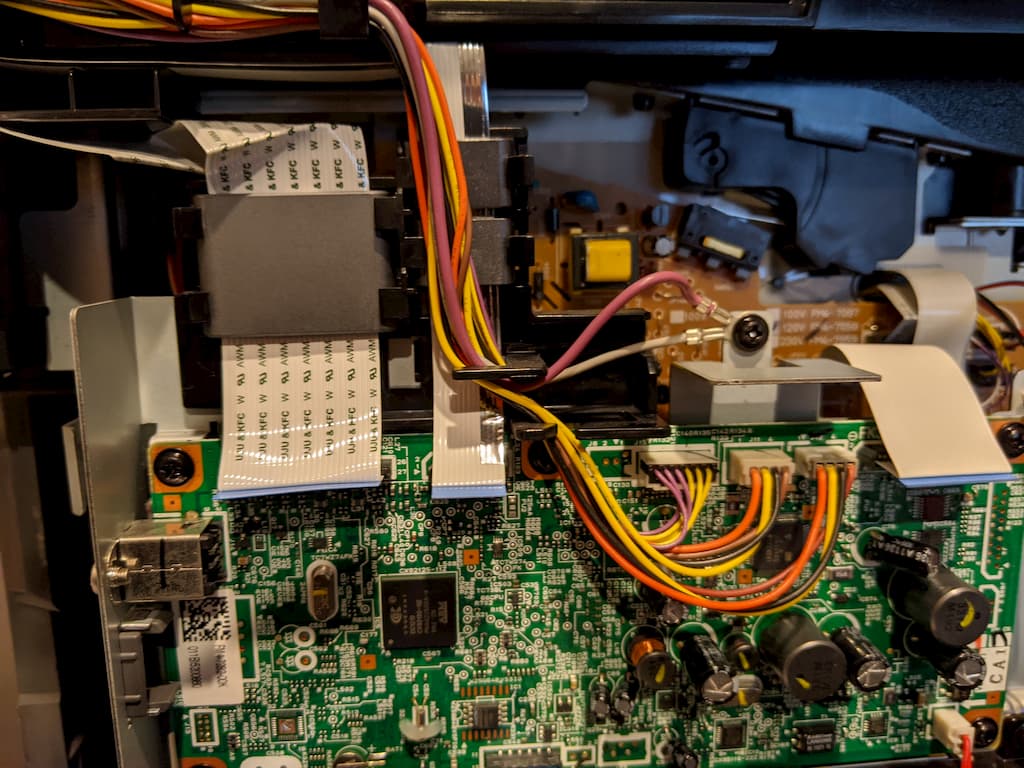
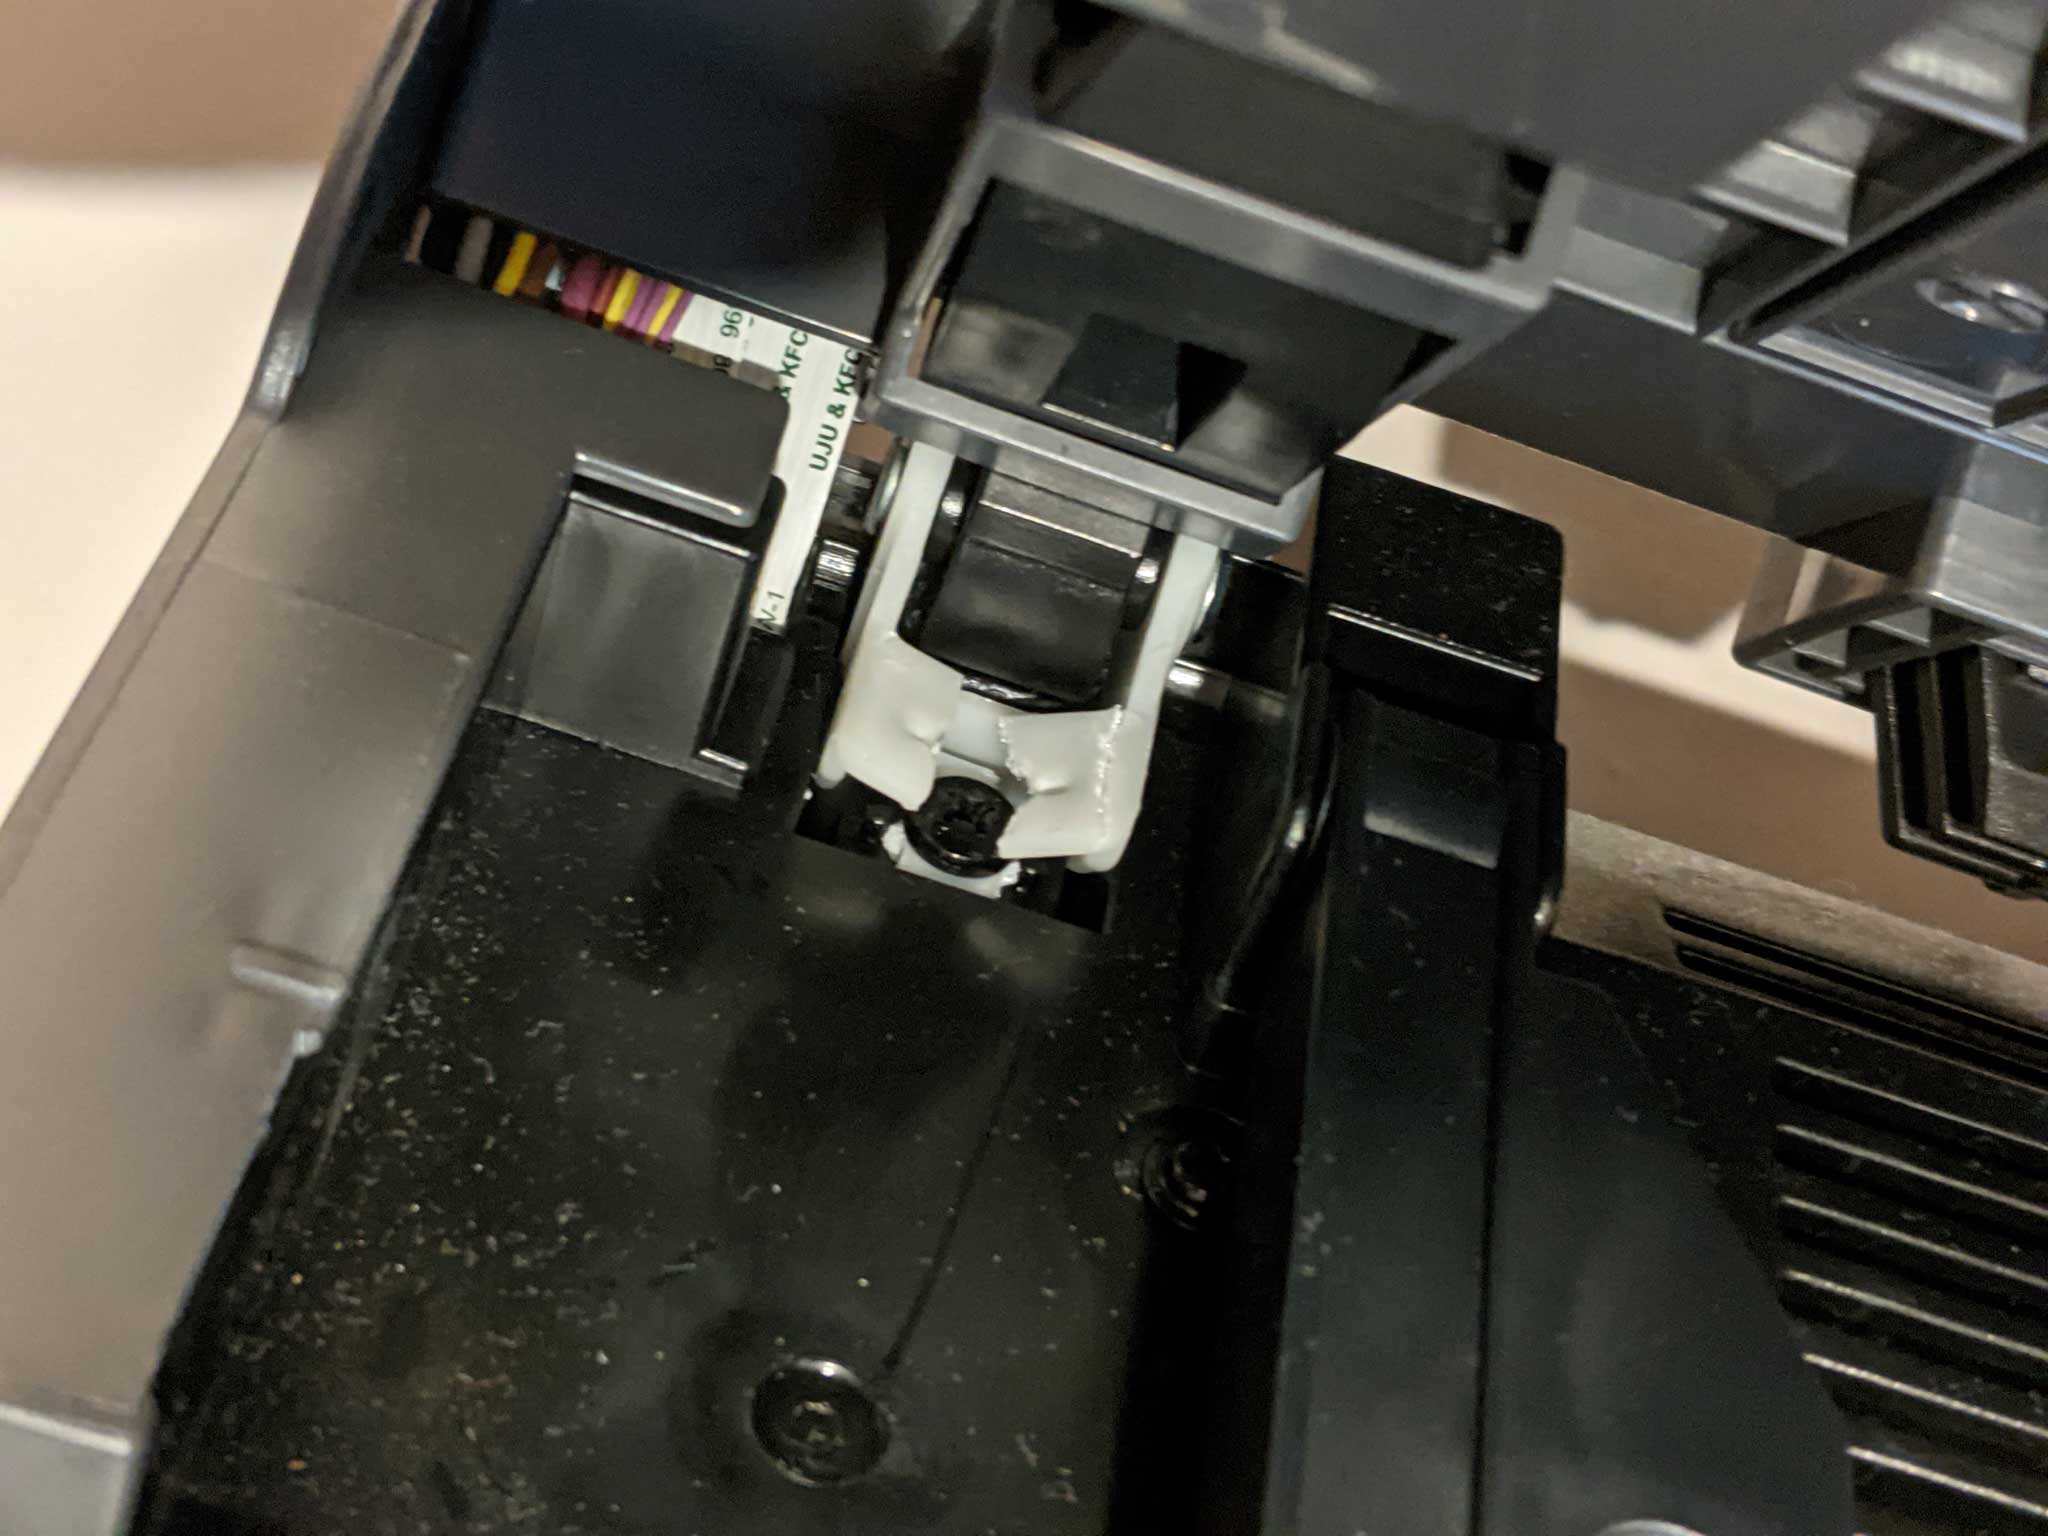
I removed the left side panel. The IC board looks like the above. I keep this picture for the record of how the wires and connectors connect to the board. After that, I will disconnect these wires before removing the cover.
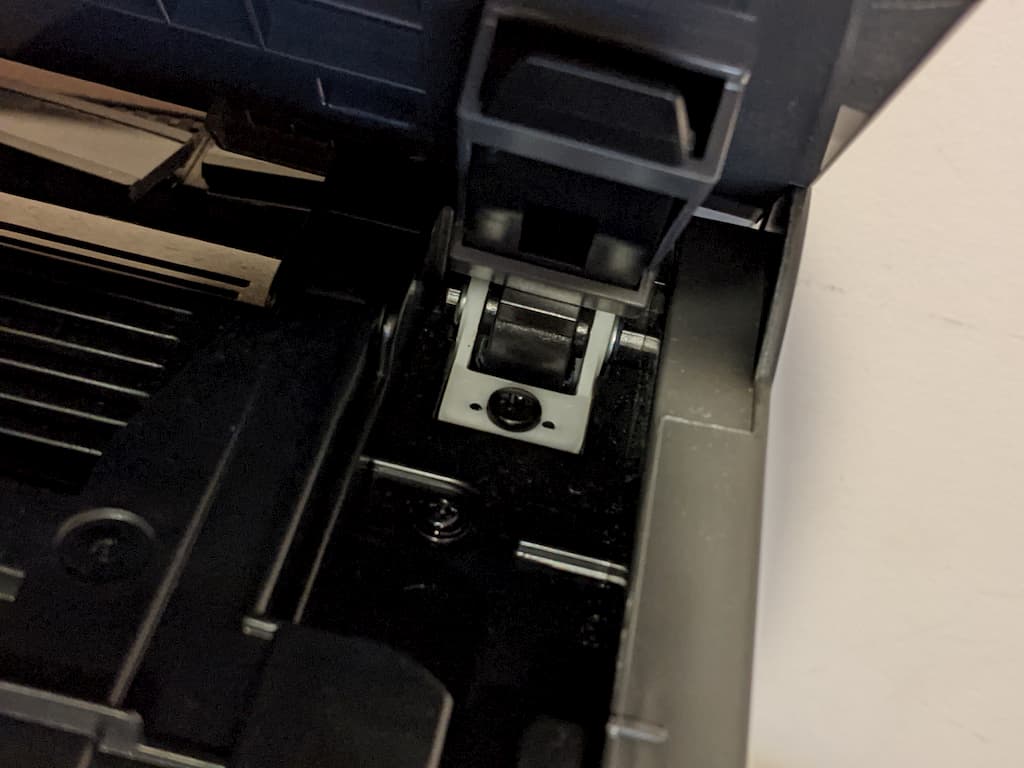
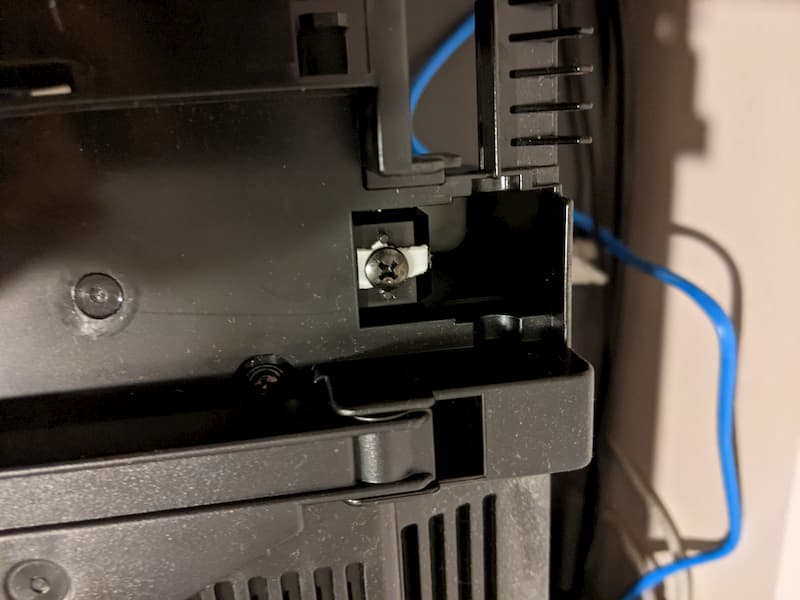
After removing the cover, the hinges are accessible.
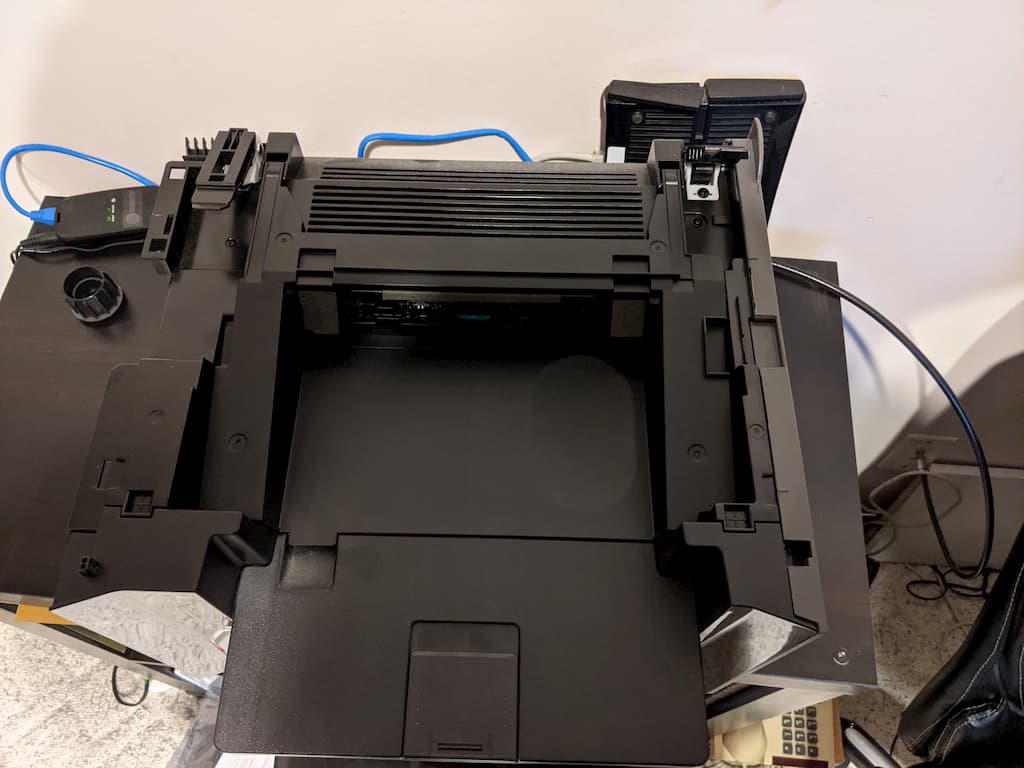
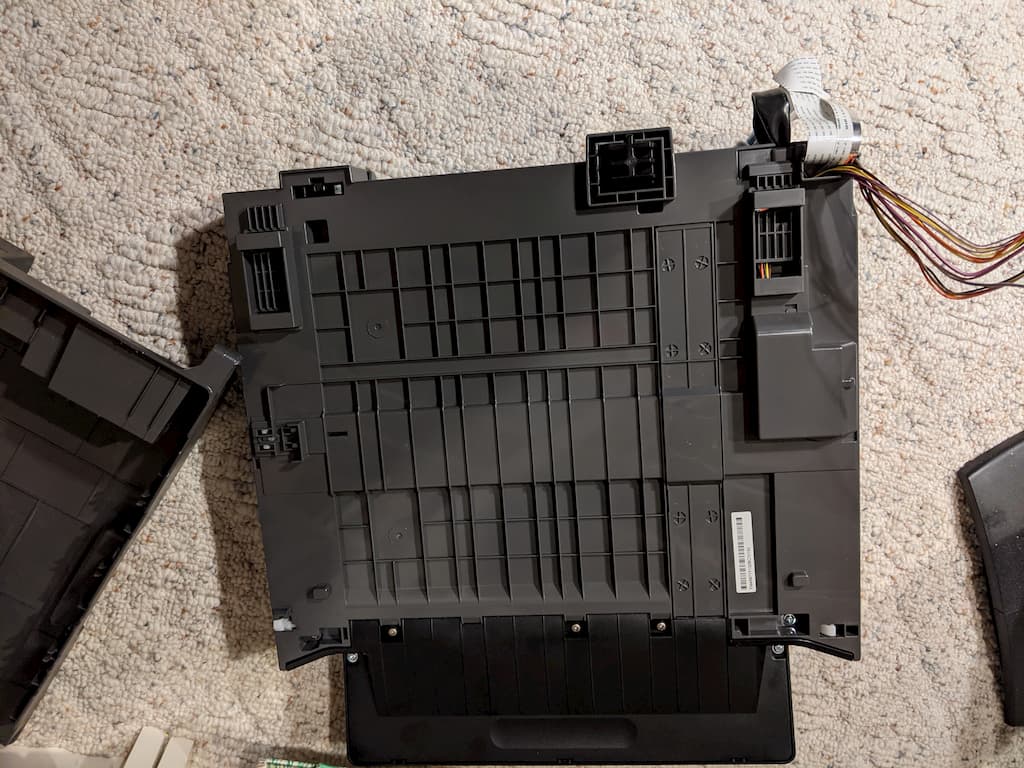
I put the cover on the floor. Nothing special. I will install it back when I replace the hinge.
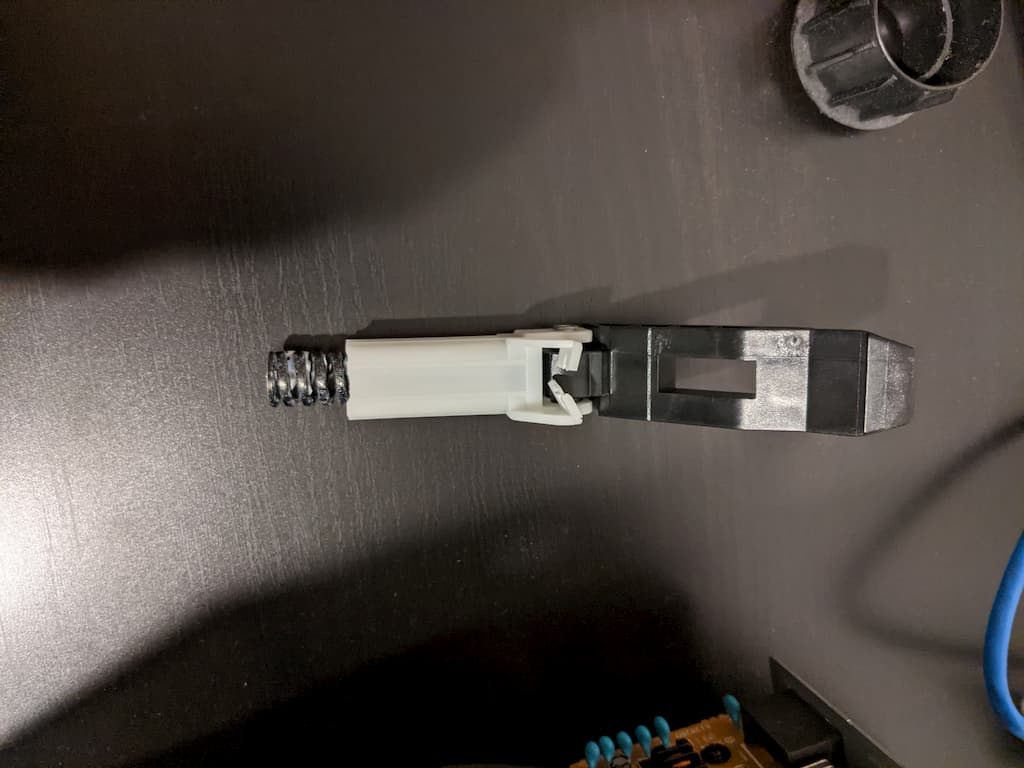
The left hinge is broken. So it is easy to remove the broken part. You can see the spring.
The rest part of the broken hinge is still on the printer. I took it down with my screw driver.
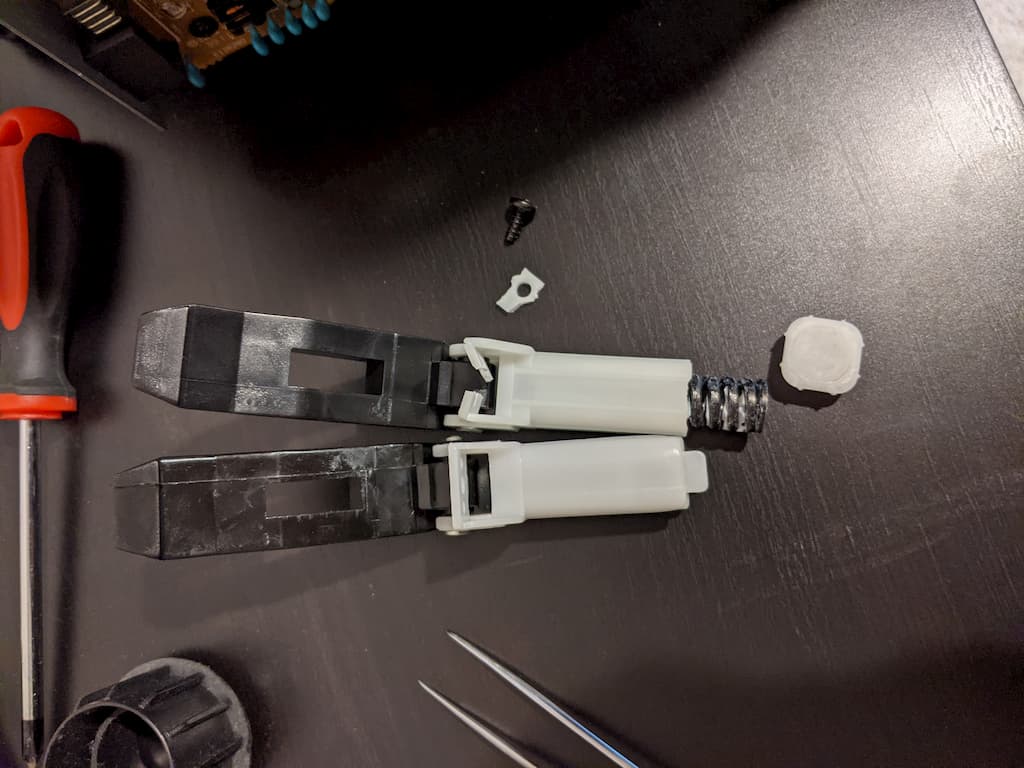
See, the broken hinge vs the new hinge side by side. The spring should be inside the white plastic body.
Then I install the new hinge with the reverse order of dismount.
Actually, I watched the youtube video when I doing this job. It helps me a lot.
update: 2023.1.2
The video is removed from YouTube. https://www.youtube.com/watch?v=w7rBZhnS63w