I power on the Raspberry Pi this morning. See pictures below.
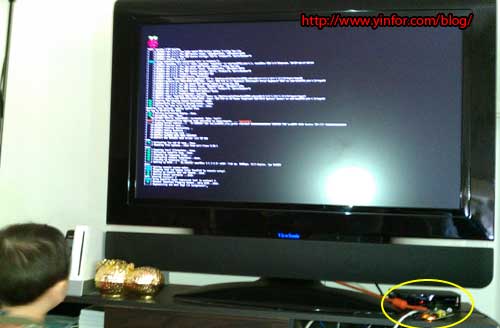
The first look of the screen in text mode. Raspberry Pi is located on the lower right corner.
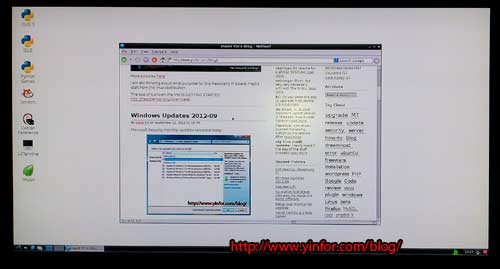
After the loading, I can enter startx to load a window.
Because it is the first time, I want to record the steps clearly.
First of all, I need the five important parts for make the bare board work.
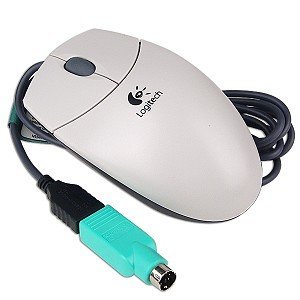
USB keyboard and mouse.
Logitech USB mouse, M-BJ69
Microsoft Wired Keyboard 400v1.0
Prepared SD card. At least class4, 4GB.
Kingston sd4/4GB, class 4

HDMI or composite television, OR a monitor with DVI or HDMI input, and an HDMI/composite cable.
HDMI cable to connect my 42 inches TV
Micro USB power supply – make sure you use a good quality one, capable of providing at least 1A at 5V.
I use HTC cellphone power adapter. It is 5V 1A.
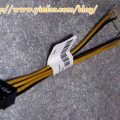
Ethernet LAN cable.
Normal LAN cable.
Then before connect it, prepare the SD card.
Step 1:
Go to http://www.raspberrypi.org/downloads to download the Raspbian “wheezy” image file. I downloaded 2012-08-16 image. Then Unzip it.
Step 2:
I am using Windows 7 64bit, I download Win32DiskImager. Binary file only.
Then Unzip it.
Step 3:
Put Kingston SD card into SD card reader which connect to my PC. Run the file I unzipped in step 2, Win32DiskImager.exe. I saw an error window popped up, I click OK to ignored it. Choose the image file I unzipped in step 1, choose the driver of SD card.
Then click write to write the image into SD card. When down, eject the card and pull out the card.
Step 4:
Put the prepared SD card into Raspberry Pi SD slot;
Connect Keyboard, Mouse with USB port;
Connect Raspberry and Router with Lan cable;
Connect Raspberry and TV with HDMI cable;
Connect Raspberry and HTC Power adapter, except the other end of power adapter
Power on TV first, switch the source to HDMI 2, the HDMI cable connected.
Plug the power adapter to power bar. Then the first picture shown.
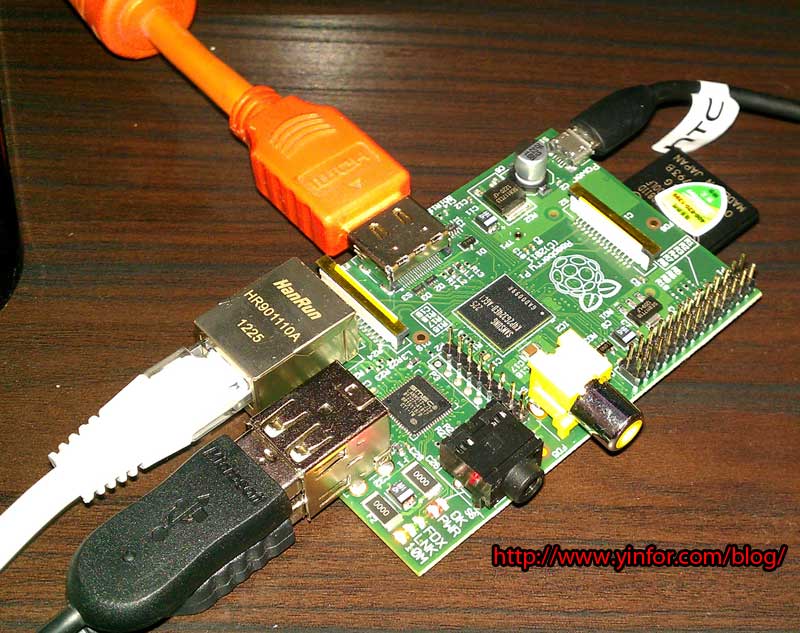
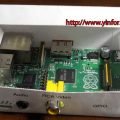
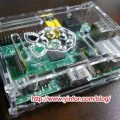
This is the close look of my Raspberry Pi when it working. The status LEDs are on.
Related posts:
 Raspberry Pi Accessories
 Make HD 2600 AGP video card work on my OLD computer
 Make a paper Raspberry Pi case
 A very handy tool set from Dremel to make a case of Raspberry Pi
 Raspberry Pi in the clean case
 UnixBench test result on Raspberry Pi
 Make a Bluetooth Speaker with Raspberry Pi with Bluetooth 4.0